Blog
How to print event banners: step-by-step guide for fast results
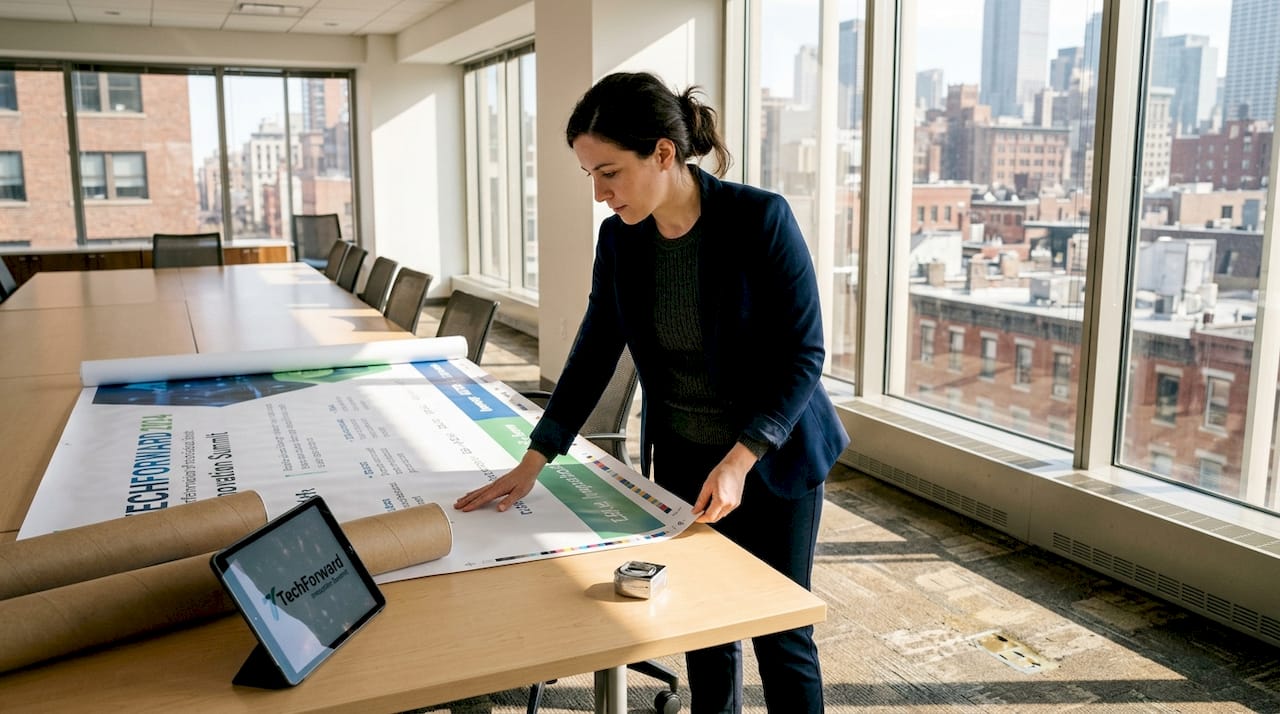
When your event is days away and your banner still isn’t ordered, every hour counts. Event planners and marketing professionals know that a poorly printed banner can undermine an otherwise flawless trade show booth or product launch. Blurry graphics, wrong dimensions, or late delivery can cost you visibility and credibility. This guide walks you through the entire banner printing process, from choosing the right material to inspecting your finished product on arrival, so you can move fast without sacrificing quality.
Table of Contents
- Understanding event banner printing essentials
- Gathering your requirements and artwork
- Step-by-step event banner printing process
- Inspecting your banner and troubleshooting common issues
- Our lessons from fast-turn event banner printing
- Get your event banners printed fast with Print Next Day
- Frequently asked questions
Key Takeaways
| Point | Details |
|---|---|
| Proper preparation | Gathering all banner specifications and artwork upfront streamlines the printing process. |
| Choose the right materials | Selecting the correct banner material ensures durability and visual impact for your event. |
| Triple-check proofs | Carefully reviewing digital proofs prevents costly mistakes and event-day surprises. |
| Act fast when issues arise | Immediately address printing or shipping errors to allow for quick fixes before your event. |
Understanding event banner printing essentials
Event banners are large-format printed displays used to communicate brand messages, direct foot traffic, promote products, or set the visual tone at trade shows, conferences, and promotional events. They are not just decorations. A well-placed banner can increase booth visibility and draw attendees from across a crowded hall.
The material you choose shapes everything: durability, color vibrancy, weight, and how quickly your order can be fulfilled. Here is a comparison of the three most popular options:
| Material | Best for | Durability | Color quality |
|---|---|---|---|
| Vinyl (18oz blockout) | Outdoor events, high-traffic areas | Very high | Excellent |
| Fabric (9.5oz blockout) | Indoor events, premium look | Moderate | Rich, deep tones |
| Mesh | Windy outdoor locations | High | Good |
Vinyl is the workhorse of event printing. Vinyl banner printing uses a blockout layer that prevents light bleed, making colors pop even in bright environments. Fabric banner options deliver a softer, more upscale appearance that photographs beautifully at corporate events. Mesh banner features include perforations that allow wind to pass through, which prevents the banner from acting like a sail and tearing free from its mounting.
Printing technology also matters. Digital printing is the standard for event banners because it handles full-color artwork, photographs, and gradients without the setup costs of screen printing. Screen printing works best for bulk orders with simple, flat color designs. For most event planners ordering under tight deadlines, digital is the clear choice.
A few terms you will encounter during ordering:
- Grommets: Metal rings reinforced into the banner edges for hanging or tying
- Blockout: An internal layer that prevents light from showing through the material
- Wrinkle-free fabric: A polyester weave that resists creasing, ideal for event banner materials used indoors
Choosing the wrong material for your environment is one of the most common and costly mistakes. A fabric banner at an outdoor windy venue will look limp and sad by noon. Match your material to your conditions from the start.
Gathering your requirements and artwork
With a grasp of banner basics, it is time to collect all your project details and artwork before you place a single order. Rushing this step causes delays, reprints, and unnecessary stress.
Start with a clear checklist of what you need to know:
- Final dimensions of the banner (width x height in inches or feet)
- Quantity needed
- Event location: indoor or outdoor
- Mounting method: grommets, pole pockets, or stand-based
- Deadline: date the banner must arrive, not the event date
Artwork preparation is where most orders go wrong. Your printer needs print-ready files, not presentation slides or low-resolution web images. Here is how common file settings compare to what printers actually prefer:
| Setting | Common submission | Preferred standard |
|---|---|---|
| File format | JPEG, PNG | PDF or Adobe Illustrator (AI) |
| Resolution | 72 DPI (screen) | 100-150 DPI at full size |
| Color mode | RGB | CMYK |
| Bleed | None | 0.25 to 0.5 inches on all sides |
Bleed is the extra artwork that extends beyond the trim line. Without it, you risk white edges appearing on your finished banner. Always artwork preparation for printing guidelines carefully before submitting files.

If you are unsure about sizing, review banner size options to match your display format. For indoor events where appearance is critical, a wrinkle-free fabric banner is worth considering. If your event is inside a venue with controlled lighting, explore indoor banner finishing choices that enhance surface smoothness and color accuracy.
Pro Tip: Call or chat with your printer before submitting files and ask specifically about their color profile requirements. Some printers use custom ICC profiles that affect how your colors render. Sending files in the wrong profile can shift your brand colors noticeably, and you may not catch it until the banner is already printed.
Collect all stakeholder approvals on the design before submission. Getting sign-off after the proof stage wastes time and may push your order past the production cutoff.
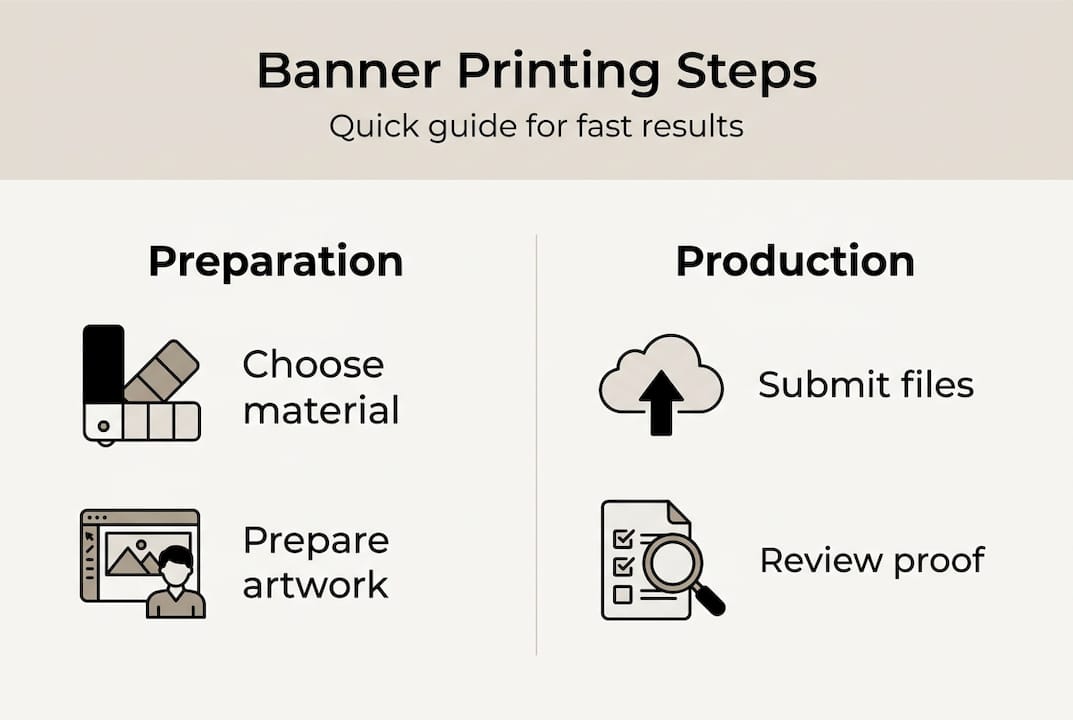
Step-by-step event banner printing process
You have assembled your requirements. Now follow these steps to move from artwork to finished banner without surprises.
- Choose your material and size. Match the banner type to your event environment. Use mesh banner for windy locations outdoors, fabric for indoor premium setups, and vinyl for general high-traffic use.
- Upload your artwork. Submit your PDF or AI file through the printer’s online portal. Double-check that bleed, resolution, and color mode are correct before uploading.
- Review the digital proof. Most printers generate a proof within hours. This is your last chance to catch errors before production begins.
- Approve and pay. Once you confirm the proof is accurate, authorize payment to release the job to press.
- Track your shipment. For tight deadlines, use rush printing services and monitor tracking updates closely.
Pro Tip: When reviewing your proof, print it at a reduced scale on a standard printer and tape it to the wall. Viewing it from a distance reveals layout and readability issues that you miss on screen.
“The most expensive banner mistake is approving a proof too quickly. Spend five extra minutes checking every element: spelling, phone numbers, URLs, and logo placement. A reprint costs far more than five minutes.”
Common mistakes to avoid during this stage include submitting RGB files instead of CMYK, ignoring the safety margin (the area inside the bleed where no critical content should appear), and underestimating printing large banners guide lead times for rush jobs. If you spot an error after approving the proof, contact your printer immediately. Some providers can pause production if you act within minutes of approval, but this window closes fast.
For events with outdoor lighting challenges, consider adding banner lighting ideas to your setup plan to ensure visibility after dark.
Inspecting your banner and troubleshooting common issues
After printing, it is vital to inspect your finished banner the moment it arrives, not the morning of your event. Give yourself at least 24 hours of buffer to address any problems.
Here is what to check immediately upon delivery:
- Print accuracy: Compare the physical banner against your approved proof. Look for color shifts, missing elements, or text that appears different from expected
- Color matching: Hold the banner under natural light. Colors can look different under warehouse fluorescents versus daylight
- Finishing quality: Check that grommets are evenly placed and securely set. Inspect pole pockets for clean seams. Review banner finishing details to understand what proper finishing looks like
- Physical condition: Inspect for creases, tears, or damage from shipping. Unroll the banner fully and lay it flat
- Dimensions: Measure the banner. Errors in size are rare but do happen, especially on custom orders
“If something looks wrong, document it immediately with photos before touching or hanging the banner. Visual evidence speeds up the resolution process with any printer.”
For creases from shipping, hanging the banner vertically in a warm room for a few hours usually relaxes the material. Fabric banners respond especially well to this. Vinyl may need a gentle heat gun pass on the back side, but only if you know what you are doing.
If colors are significantly off, contact your printer with your proof file and photos of the issue side by side. Reputable providers will reprint or credit the order. For banner printing mistakes that affect usability, always push for a reprint rather than a partial refund.
For installation, follow banner stand setup tips carefully. A banner that falls during an event is worse than no banner at all.
Our lessons from fast-turn event banner printing
With the practical steps covered, here is some real-world perspective from handling thousands of urgent banner orders.
The biggest myth in rush printing is that speed and quality are always in conflict. They are not, but only if you front-load the work. The event planners who get perfect banners on tight deadlines are the ones who have their files ready, their dimensions confirmed, and their stakeholder approvals locked before they even open the order form. The ones who struggle are those who treat file prep as something to figure out during checkout.
Over-communicating with your printer is never a waste of time. A quick message confirming your deadline, your color profile, and your finishing needs takes two minutes and can prevent a production error that takes two days to fix.
We have also seen a pattern: event organizers consistently underestimate the value of professional design help. A file built by someone unfamiliar with print production almost always has at least one issue, whether it is RGB colors, missing bleed, or fonts that are not outlined. Investing in a print-ready file from the start is not an extra cost. It is insurance.
When something does go wrong at the last minute, next-day print solutions exist for exactly that scenario. Have a backup plan that includes a fast-turnaround provider already bookmarked before your event season begins.
Get your event banners printed fast with Print Next Day
If you need high-impact banners on a tight deadline, here is where you can get started.
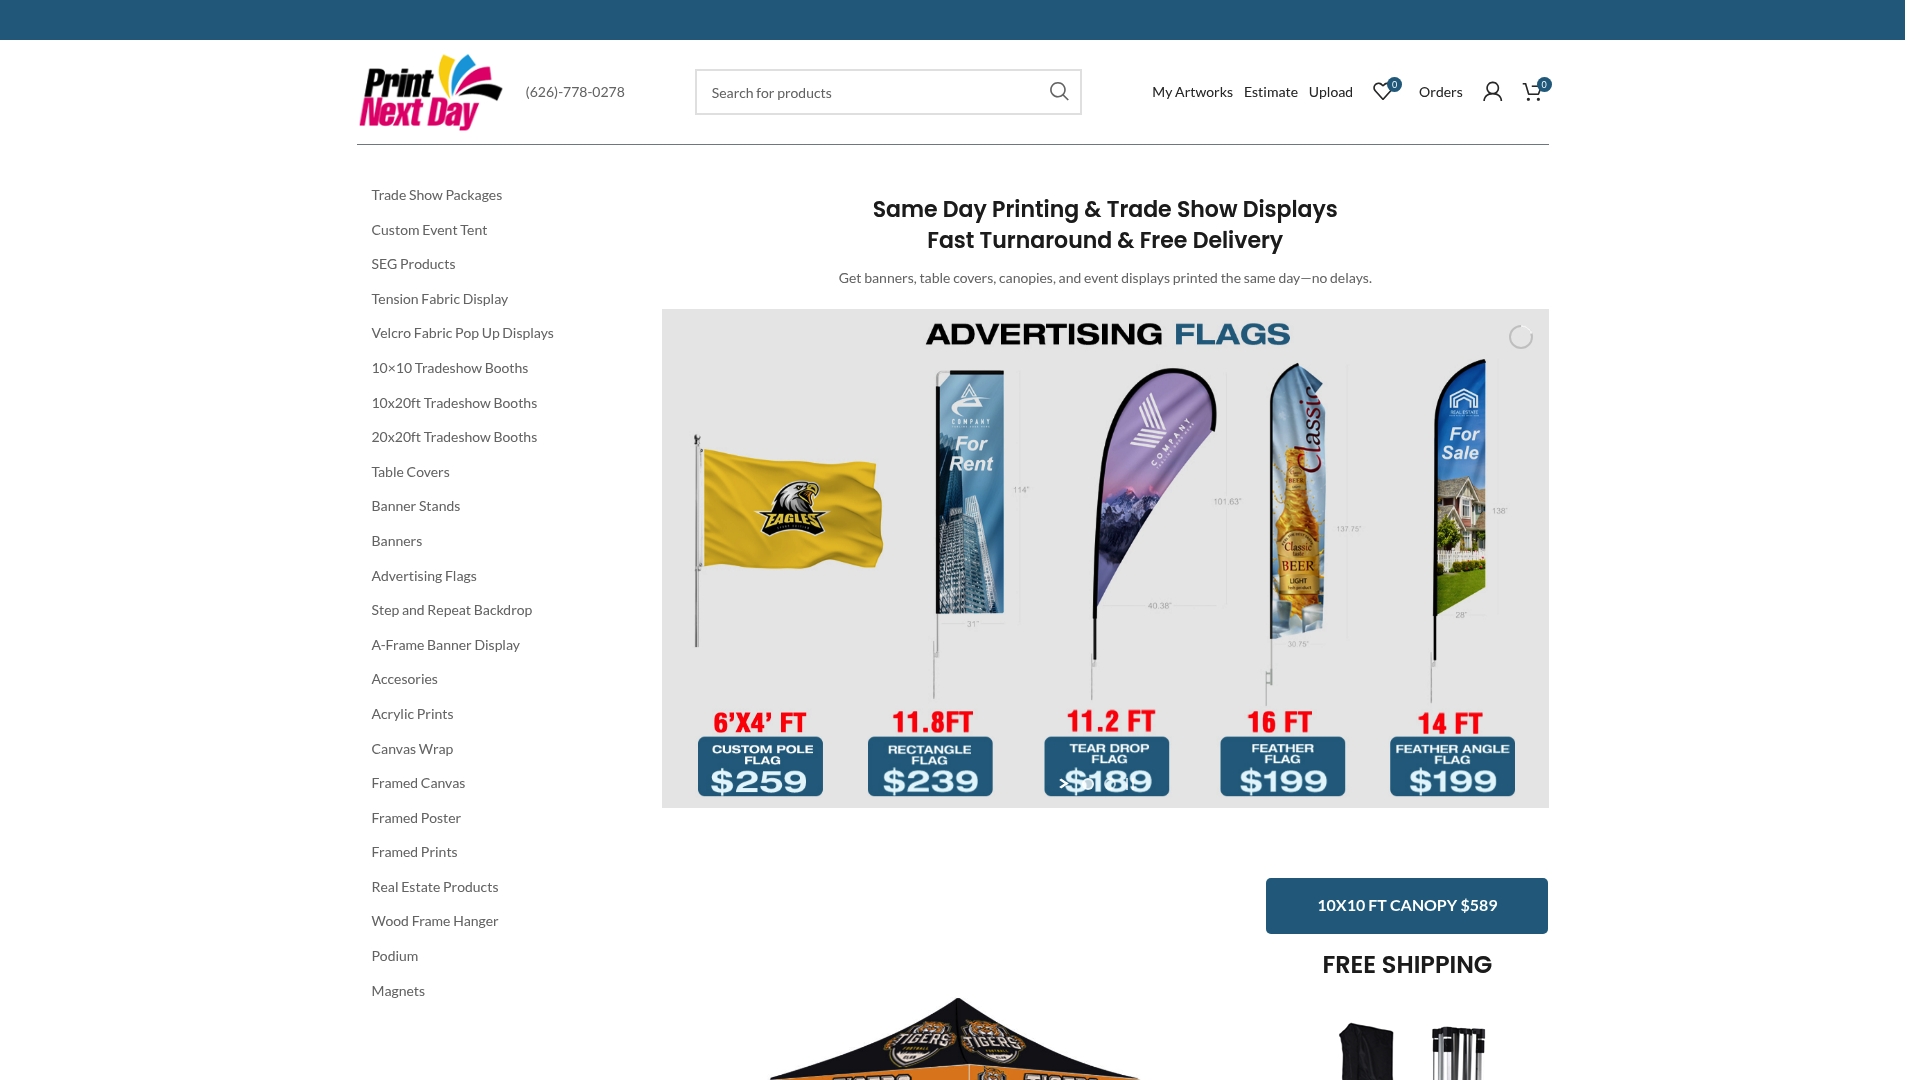
Print Next Day offers same-day and next-day production across a full range of banner types, from large-format vinyl to wrinkle-free fabric and mesh. Whether you need a bold vinyl banner solution for an outdoor trade show or a sleek A-Frame Banner Display for an indoor event, the ordering process is built for busy professionals who cannot afford delays. Free shipping and expedited processing mean your banners arrive ready to hang, not ready to stress over. Place your order online in minutes and get back to planning the event itself.
Frequently asked questions
What file format is best for event banner printing?
PDF and AI are the top file choices for print clarity, offering high resolution and reliable color reproduction. Always include bleed and submit in CMYK color mode for best results.
Can banners be printed and shipped the same day?
Yes, same-day banner printing is available for urgent needs through providers like Print Next Day, which offers expedited production and fast shipping on most banner types.
How do I avoid blurry or pixelated banners?
High-resolution files prevent blurry banners, so always submit artwork at 100-150 DPI at full print size and confirm dimensions with your printer before uploading.
What is the difference between vinyl and fabric banners?
Vinyl and fabric each suit different event environments: vinyl is weather-resistant and ideal for outdoor use, while fabric delivers a softer, premium look best suited for indoor settings.